How to Hook up a Portable Countertop Dishwasher
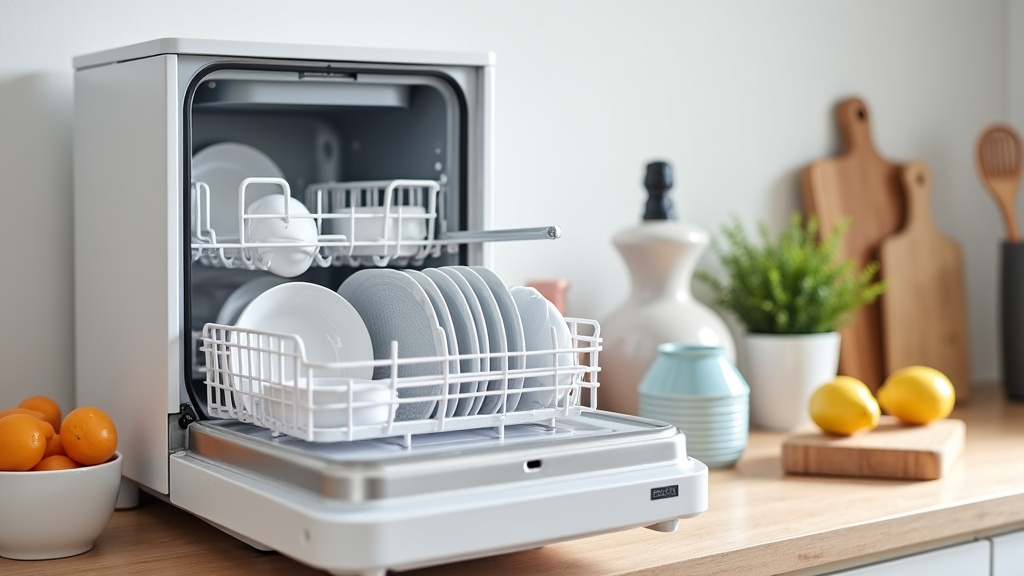
Hooking up a portable countertop dishwasher is surprisingly simple for most homes. You can typically connect it directly to your kitchen faucet using the provided adapter and then plug it into a standard electrical outlet. This means you can enjoy sparkling clean dishes without needing permanent plumbing changes, making it a great option for renters or those with limited kitchen space.
Most portable dishwashers come with an all-in-one hose that handles both water supply and drainage. The process usually involves screwing an adapter onto your faucet. Then, you connect the dishwasher’s hose to this adapter. Finally, you just need to find a nearby power source to complete the connection. It’s designed for easy DIY setup.
- Attach adapter to your faucet.
- Connect dishwasher hose to the adapter.
- Plug the dishwasher into a power outlet.
- Ensure drainage hose is properly positioned.
- Run a test cycle.
Ready to get your dishes washed without the fuss? Let’s walk through exactly how to get your portable dishwasher up and running, step by step.
“`htmlConnecting Your Portable Dishwasher: A Simple Guide
So, you’ve got a shiny new portable dishwasher and you’re ready to banish hand-washing forever. Great choice! Hooking it up is often a lot less complicated than you might think. We’re here to walk you through it, step-by-step, so you can get back to enjoying your life, not scrubbing pots.
Gathering Your Supplies Before You Start
Before you dive in, let’s make sure you have everything you need. This isn’t rocket science, but being prepared makes the whole process smoother. Think of it like packing for a picnic – the more organized you are, the more enjoyable the experience.
What’s Usually in the Box?
Most portable dishwashers come with a special adapter. This is the magic piece that lets your dishwasher connect to your kitchen faucet. You’ll also find a hose. This hose is pretty clever; it handles both bringing water in and sending dirty water out.
You should also have a drain hose. Some are built into the main hose, while others are separate. Make sure you know which you have. A power cord is, of course, essential. And don’t forget your dishwasher’s user manual. It’s your best friend for specific details about your model.
What You Might Need (Check Your Manual!)
While most setups are self-contained, it’s good to double-check. Some older faucets might need a different kind of adapter. You probably won’t need any tools, but if you do, it’s usually just a wrench for a snug fit. Always consult your manual first.
Understanding Your Faucet Connection
This is where the magic happens. Your faucet is going to act as the water source and the quick drain connection. It’s designed to be easy, so don’t overthink it!
Identifying the Right Faucet Aerator
Most modern faucets have a removable aerator at the tip. This is where the dishwasher adapter usually screws on. You might need to unscrew your current aerator first. Many dishwashers come with a few different adapters to fit various faucet types.
We found that most people have a faucet with a standard male or female thread. If yours is unusual, that’s when you might need a special adapter, but this is rare. Look closely at the end of your faucet. Does it look like it has threads inside or outside?
Attaching the Dishwasher Adapter
Once you’ve identified your faucet type, it’s time to attach the adapter. It usually screws right on where your aerator used to be. Some adapters have a small lever or button to switch between faucet use and dishwasher use. Make sure this lever is in the ‘off’ position for the dishwasher before you attach it.
Tighten it gently. You don’t want to force it, but you do want a snug fit to prevent leaks. If it feels wobbly, try a different adapter if one came with your unit. A good seal is important for preventing water spills.
Connecting the Water Supply Hose
Now, take the hose from your dishwasher. It will have a connector on the end. This connector simply snaps or screws onto the adapter you just attached to your faucet. Again, check your manual for the exact mechanism. It’s usually a straightforward push-and-lock or a screw-on.
Once connected, you can turn on your faucet water. The adapter should direct the water into the dishwasher hose. This is the point where you might want to check for any immediate drips. A small, initial drip can sometimes happen and seal itself, but consistent leaks are a sign to stop and re-secure the connection.
Setting Up the Drainage System
Now that your dishwasher has water, it needs a place for that dirty water to go. This is typically handled by the same hose that brought the water in, but it has a dual purpose.
Positioning the Drain Hose
Your drain hose needs to reach your sink. The end of the hose usually has a hook or a curve designed to hang securely over the edge of your sink. Make sure it’s stable!
We found that many people worry about the hose falling into the sink, which could allow dirty sink water to backflow into the dishwasher. To prevent this, ensure the hook is firmly seated on the rim. Some models might have a bracket or strap to help secure it. A secure drain hose is key to a clean wash.
Ensuring Proper Drainage Height
There’s a sweet spot for how high the drain hose should be. If it’s too low, water might drain out too quickly, affecting the wash cycle. If it’s too high, the pump might struggle. Your manual will specify the ideal height range. Typically, the highest point of the drain hose should be somewhere between 20 and 30 inches from the floor.
Many experts recommend checking that the hose doesn’t dip down into the standing water in your sink. This can create a siphon effect, pulling water out prematurely. Keeping the hose looped up and over the sink edge generally ensures it stays at the right height. This is a simple trick for optimal dishwashing performance.
Powering Up Your Dishwasher
The final step is giving your dishwasher the power it needs to work its magic.
Plugging into a Standard Outlet
Portable dishwashers plug into a regular household electrical outlet. Make sure the outlet is easily accessible and not too far from where you’ve placed the dishwasher. You don’t want to be stretching the power cord too tight.
It’s important that the outlet is grounded. This is a safety feature. Also, avoid using extension cords if possible, as they can sometimes pose a fire risk or not provide enough stable power. We found that many manufacturers strongly advise against them. Always use the shortest power cord length possible.
Considerations for Water and Electricity
A word of caution: you’re mixing water and electricity here. While manufacturers design these appliances with safety in mind, it’s wise to be mindful. Keep the power cord and plug away from any standing water on the counter or floor. If you have GFCI (Ground Fault Circuit Interrupter) outlets near your sink, that’s ideal, as they offer extra protection against electrical shock.
Running a Test Cycle
Before you load up a full rack of dirty dishes, it’s a good idea to run a test cycle. This is like a dress rehearsal.
What to Look For During the Test
Start a short wash cycle. Listen for any unusual noises. Watch for leaks around the faucet connection and the drain hose. Check that water is filling the dishwasher correctly and that it drains properly when the cycle indicates it should.
You might also want to feel the water temperature. Is it getting warm as expected? Some models heat their own water, while others rely on your hot water supply. Observing these simple things can help you catch any minor issues before you have a sink full of soapy water and a half-washed load of dishes. This test helps ensure everything is working as it should.
Troubleshooting Common Issues
If you notice a leak, try tightening the connection at the faucet or drain hose. If the dishwasher isn’t filling, check that the faucet is fully turned on and that the adapter is correctly seated. If it’s not draining, ensure the drain hose isn’t kinked and is positioned at the correct height.
Many user manuals have a troubleshooting section that can help. If you’re consistently running into problems, don’t hesitate to contact the manufacturer’s customer support. They are there to help you solve these issues. Remember, a little patience now saves a lot of hassle later!
Checklist for a Successful Setup
- Adapter is securely attached to the faucet.
- Water supply hose is firmly connected to the adapter.
- Drain hose is properly positioned and secured over the sink.
- Dishwasher is plugged into a grounded outlet.
- No visible leaks at any connection points.
- Test cycle completed without major issues.
Conclusion
You’ve successfully learned how to connect your portable countertop dishwasher. By following these steps, you’ve bypassed the need for permanent plumbing. Remember to secure the faucet adapter, connect the hose properly, and ensure your drain hose is positioned correctly. A quick test cycle confirms everything is working well. Now you’re all set to enjoy the convenience of a dishwasher without the hassle of installation. Your next step is to load it up and run your first official wash cycle!
Frequently Asked Questions
What if my faucet doesn’t look like it fits the adapter?
Most portable dishwashers come with universal adapters that fit common faucet types. If yours is unusual, check your dishwasher’s manual for alternative adapter recommendations. You might need to purchase a different adapter separately from a hardware store.
How do I make sure the drain hose doesn’t fall off?
The drain hose usually has a curved hook designed to hang securely over your sink’s edge. Ensure this hook is firmly seated on the rim. Some models include a bracket or strap for extra stability. A secure connection prevents messy spills and backflow.
Can I use an extension cord for the dishwasher?
Manufacturers strongly advise against using extension cords due to potential fire risks and unstable power delivery. It’s best to plug your dishwasher directly into a grounded electrical outlet. If an extension cord is absolutely necessary, use a heavy-duty one rated for the appliance’s power needs.
What should I do if I see small leaks during the test cycle?
Small drips at the faucet connection might seal themselves. However, consistent leaks mean you should stop the cycle. Try tightening the connection at the faucet adapter or the water supply hose. If the leak persists, consult your user manual or contact the manufacturer.
How often should I run a test cycle?
You only need to run a test cycle right after setting up the dishwasher. This initial test confirms your connections are secure and the unit is functioning correctly. After that, simply load your dishes and run a regular wash cycle as needed.