How to Connect a Countertop Dishwasher to a Faucet Basics
On this page (10 sections)
- Connecting Your Countertop Dishwasher to Your Faucet: A Simple Guide
- Understanding the Faucet Connection
- Preparing Your Faucet for Connection
- Attaching the Dishwasher Faucet Adapter
- Hooking Up the Hoses
- Testing for Leaks and Operation
- Troubleshooting Common Issues
- A Quick Checklist for Success
- Conclusion
- Frequently Asked Questions
Yes, you can easily connect a countertop dishwasher to your kitchen faucet. It’s a convenient solution for small kitchens. This setup uses your sink’s water supply. You can install it without needing a plumber. It’s a great way to get dishwasher benefits.
This type of dishwasher is portable and versatile. It hooks up to your existing faucet adapter. It then drains through the same connection. Most models come with an adapter for standard faucets. Make sure to check your faucet’s compatibility.
- Countertop dishwashers connect to your faucet.
- They use a special adapter for water supply.
- Draining happens through the same faucet connection.
- Installation is usually simple and quick.
- They are a good choice for smaller living spaces.
Let’s walk through exactly how to connect your dishwasher to your faucet step by step. We’ll make sure you have all the information you need.
Connecting Your Countertop Dishwasher to Your Faucet: A Simple Guide
So, you’ve got a new countertop dishwasher and you’re ready to make life a little easier. Great choice! These handy appliances are perfect for apartments, RVs, or any kitchen where a full-sized dishwasher just won’t fit. Connecting one to your faucet is usually a straightforward process. You don’t need to be a plumbing expert to get it hooked up. We’re here to walk you through it, step by step. You’ll be enjoying sparkling clean dishes in no time. Learn how long wash cycles take and what affects them in our detailed guide.
Understanding the Faucet Connection
The magic of a countertop dishwasher lies in its ability to use your existing faucet. It bypasses the need for permanent plumbing. This is achieved through a special adapter that connects to your faucet’s aerator. This adapter serves two main purposes: it allows water to enter the dishwasher, and it acts as the exit point for wastewater. It’s a clever system that makes installation incredibly simple.
How the Adapter Works
Think of the adapter as a smart diversion valve. Normally, water flows out of your faucet for washing hands or dishes. When you connect the dishwasher, the adapter redirects that water flow. It sends it into the dishwasher’s hose. When the dishwasher cycle is done, the wastewater is then pushed back through the same hose and adapter. It then drains into your sink. It’s pretty neat how it handles both jobs.
What’s in the Box?
Most countertop dishwashers come with everything you need to get started. Inside the box, you’ll typically find:
- The dishwasher unit itself.
- A power cord.
- A water inlet hose.
- A drain hose.
- A faucet adapter kit.
- An instruction manual.
The faucet adapter kit usually includes a few different-sized washers or a universal adapter. This is to ensure a good fit for various faucet types. We’ll cover that in more detail soon.
Preparing Your Faucet for Connection
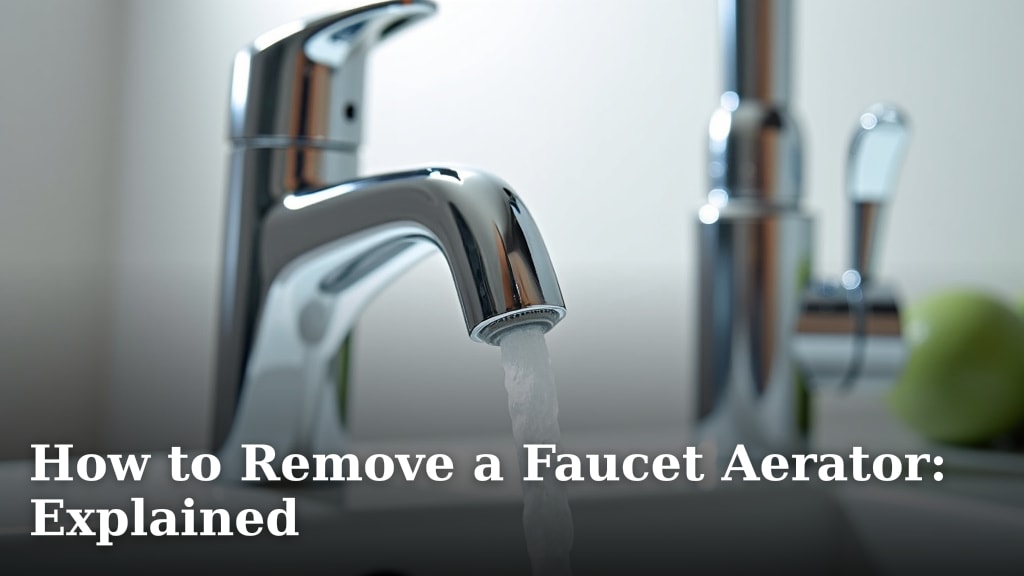
Before you can connect your dishwasher, you need to make sure your faucet is ready. The most important part is the aerator. This is the small screen at the tip of your faucet where the water comes out. The dishwasher adapter screws onto this part. You’ll need to remove the existing aerator.
Removing Your Faucet’s Aerator
This is usually the trickiest part, but it’s not too hard. Most aerators simply unscrew counter-clockwise. You might be able to do it by hand. If it’s tight, try using a pair of pliers. Wrap the jaws of the pliers with a cloth or tape to avoid scratching your faucet. Gently grip the aerator and turn it counter-clockwise. If it’s really stuck, a little bit of white vinegar left on it for a few minutes can help loosen any mineral buildup.
Once removed, take a look at the threads inside your faucet spout. Make sure they are clean and free of debris. This will help ensure a good seal with the dishwasher adapter.
Identifying Your Faucet Type
Most countertop dishwashers are designed to work with standard, single-handle faucets. However, some faucets have unique designs. It’s important to check if your faucet is compatible. Most adapters are made for faucets with an aerator that screws into the end of the spout. If your faucet has a sprayer attachment that pulls out, or a non-removable aerator, you might need a different type of adapter. You can often find these specialized adapters online or at hardware stores.
Many guidelines suggest checking your faucet’s manufacturer specifications if you’re unsure. This can help you determine the thread size and type of your aerator. This information is key to finding the right adapter if the one provided doesn’t fit.
Attaching the Dishwasher Faucet Adapter
Now for the main event: connecting the adapter. This is where the dishwasher hose will hook up.
Selecting the Right Washer
Your dishwasher’s adapter kit will likely come with several rubber washers of different sizes. You need to find the one that creates a snug fit inside the adapter. This washer is crucial for preventing leaks. Try inserting the washers into the adapter. You want one that fits snugly without being too loose or too tight.
We found that starting with the largest washer and working your way down often helps. If the washer is too small, it will just fall out. If it’s too large, you might struggle to get the adapter to screw on properly.
Connecting the Adapter to the Faucet
Once you have the right washer in place inside the adapter, it’s time to attach it to your faucet. Align the adapter with the faucet threads where the aerator used to be. Screw the adapter on clockwise. Hand-tighten it first. Then, if needed, use pliers with a protective cloth to give it a final quarter-turn. Don’t overtighten it, as this can damage the threads or the adapter itself.
Most adapters have a small lever or button. This is used to switch between normal faucet flow and dishwasher connection. Make sure this lever is in the “faucet” position before you turn on the water.
Hooking Up the Hoses
With the adapter in place, you’re ready to connect the dishwasher’s hoses. There are usually two: one for water input and one for draining.
Connecting the Water Inlet Hose
This hose connects the dishwasher to the faucet adapter. Look for the designated port on the adapter, usually marked with an incoming arrow or similar. The other end of the water inlet hose will have a connector that fits this port. Simply push or screw it into place according to the manufacturer’s instructions. Many are quick-connect fittings, so they just snap on securely.
Ensure this connection is firm. A loose connection here will lead to water spraying everywhere when you turn on the faucet. Many experts recommend a quick tug to confirm it’s secure.
Connecting the Drain Hose
The drain hose is how the dirty water leaves the dishwasher and goes into your sink. The end of the drain hose typically has a hook or fitting designed to rest over the edge of your sink or connect to the same adapter port as the inlet hose. Some models have a separate drain connection on the adapter. Always check your specific model’s manual for the correct drain setup.
It’s vital that the drain hose has a “high loop.” This means the hose should arc upwards before going down into the sink. This prevents dirty water from flowing back into the dishwasher. Many people secure this loop with a zip tie or clamp to the underside of their counter or sink. This helps maintain the shape.
Testing for Leaks and Operation
You’re almost there! Before you run a full cycle, it’s wise to test everything. This prevents a mess.
Initial Water Flow Test
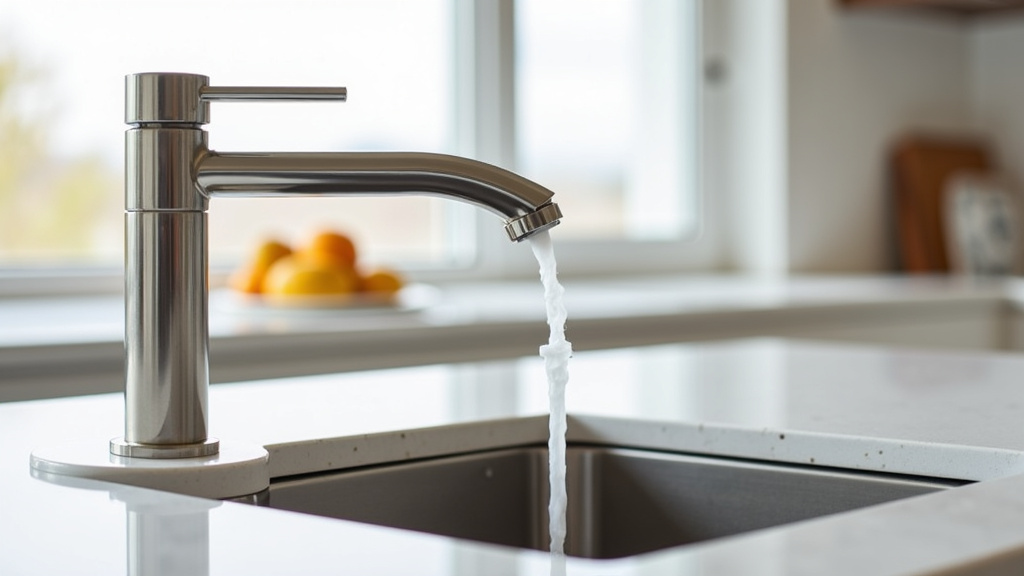
First, ensure the dishwasher adapter is set to the “faucet” position. Turn on your cold water faucet to a medium flow. Watch closely for any drips or leaks around the adapter and the inlet hose connection. If you see any leaks, turn off the water. Check the washer, tighten the adapter, or ensure the hose is securely connected. Repeat the test until you have a dry connection.
Running a Short Cycle
Once the water supply connection is leak-free, you can test the dishwasher itself. Make sure the drain hose is securely positioned in the sink. Now, switch the adapter to the “dishwasher” position. This allows water to flow into the unit. Start a short rinse cycle. Keep an eye on the water inlet and drain connections. Also, observe the drain hose as it empties into the sink. Listen for any unusual noises and check for leaks again during the draining process.
Many users find it helpful to place a towel around the connections, just in case. This is good practice for the first few uses. It’s better to be safe than sorry when dealing with water!
Troubleshooting Common Issues
Even with clear instructions, you might run into a hiccup. Don’t worry, most problems are easily fixed.
Leaking Adapter or Hoses
This is the most common issue. If you have leaks, check these things:
- Is the correct washer being used in the adapter?
- Is the adapter screwed on tightly enough, but not too tight?
- Are the inlet and drain hoses securely attached to the adapter and the dishwasher?
- Is the faucet aerator truly removed? Sometimes old ones leave behind parts.
A small leak might also stop on its own as the rubber parts seal over time. But if it persists, it needs addressing.
Dishwasher Not Filling or Draining
If the dishwasher doesn’t fill, check that the water inlet hose is properly connected and that the faucet is turned on. Make sure the adapter lever is in the “dishwasher” position. If it’s not draining, ensure the drain hose isn’t kinked or blocked. Also, verify that the high loop is correctly in place and that the drain hose isn’t submerged too deeply in standing sink water.
Sometimes, a partial clog in your sink’s drain can affect the dishwasher’s ability to drain. Running hot water down your sink can sometimes help clear minor blockages. Many sources, like plumbing guides, often recommend ensuring the drain hose has a clear path to the sink drain.
Checking Faucet Compatibility
If you’ve tried everything and the adapter just won’t fit, it’s likely a compatibility issue. As we mentioned, some faucets have non-standard aerators or integrated sprayers. In this case, you’ll need to find a specialized adapter. You can usually find these by searching online for your faucet brand and “dishwasher adapter” or by visiting a well-stocked plumbing supply store. Having your faucet’s model number handy can be very helpful when searching for parts.
A Quick Checklist for Success
Let’s recap the main steps to ensure a smooth connection:
- Remove your faucet’s aerator carefully.
- Select the right washer for a snug fit in the adapter.
- Screw the adapter onto the faucet hand-tight, then a bit more.
- Connect the water inlet hose securely to the adapter.
- Ensure the drain hose is properly positioned with a high loop.
- Test for leaks with water flow before running a full cycle.
Following these steps should get your countertop dishwasher up and running smoothly. Enjoy those clean dishes!
Conclusion
You’ve successfully learned how to connect your countertop dishwasher to your faucet. We walked through preparing your faucet, attaching the adapter, and hooking up the hoses. Remember to always test for leaks before running a full cycle. This simple setup can bring the convenience of a dishwasher to even the smallest kitchens. Your next step is to gather your dishwasher and its adapter kit. Then, follow these steps to get your dishwasher ready to go. Enjoy your sparkling clean dishes!
Frequently Asked Questions
What if my faucet doesn’t have a removable aerator?
If your faucet’s aerator is not removable or integrated with the sprayer, you’ll likely need a specialized adapter. These are designed for non-standard faucets and can usually be found online or at plumbing supply stores. Check your faucet’s brand and model to find the correct adapter.
How do I know if my faucet is compatible?
Most countertop dishwashers are designed for standard faucets with removable aerators. If your faucet has an aerator that unscrews, it’s likely compatible. Faucets with pull-out sprayers or unique spout designs might require a different adapter. Always check your dishwasher manual or the adapter kit’s specifications.
Can I leave the dishwasher connected all the time?
Yes, you can typically leave the dishwasher connected. The adapter has a lever to switch between normal faucet use and dishwasher connection. Just be sure to set it to the “faucet” position when you need to use your sink for other tasks.
My dishwasher isn’t draining properly, what could be wrong?
Check that the drain hose has a high loop, preventing backflow. Ensure the hose isn’t kinked or blocked, and that it’s correctly positioned in the sink. A partial clog in your sink drain could also slow down the dishwasher’s drainage.
Do I need to turn off the main water supply to install the adapter?
No, you do not need to turn off your main water supply. The connection is made at the faucet itself, and you’ll only be working with the water pressure from that single faucet. Just ensure the faucet is turned off before you start removing the aerator.