How to Attach a Drain Hose to a Sink: Explained
On this page (9 sections)
Attaching a drain hose to your sink is a straightforward process when you have the right steps. You’ll need a few basic tools and materials, but the core task involves connecting the hose securely to the drain pipe under your sink. We found that understanding the connection types, like slip-joint or compression fittings, makes the job much easier. Following these steps ensures a watertight seal and prevents leaks. It’s a common DIY task that most homeowners can handle with confidence.
This process is essential for managing wastewater from your sink. Whether you’re setting up a new dishwasher, replacing an old hose, or rerouting plumbing, getting this connection right is key. Proper attachment prevents messy overflows and potential water damage. Many homeowners successfully tackle this task by focusing on a secure fit and checking for leaks afterward. We’ll guide you through the common methods to ensure your hose stays put.
- Identify your sink drain type.
- Gather the necessary tools and materials.
- Prepare the drain pipe and hose for connection.
- Secure the hose with appropriate fittings.
- Test for leaks after installation.
Ready to get that drain hose attached correctly? Let’s walk through exactly how this works step by step, making sure you feel prepared and confident.
“`htmlConnecting Your Sink Drain Hose: A Step-by-Step Guide
Attaching a drain hose to your sink might sound a little intimidating. But don’t worry, we found that it’s a very manageable DIY project. This guide will walk you through the common ways to get that hose hooked up securely. You’ll learn about the different parts involved and how to make sure everything is watertight. Getting this right means no surprise puddles under your sink!
Think of the drain hose as the escape route for your used water. Whether it’s for a dishwasher, a washing machine, or even a simple kitchen sink with an extra drain outlet, a proper connection is key. We’ve seen many different setups, and the principles remain the same: a secure fit and a watertight seal are your top priorities. Let’s break down how you can achieve this yourself.
Understanding Your Sink Drain Components
Before you start attaching anything, it’s smart to know what you’re working with. Under most sinks, you’ll find a few key parts that make up the drainage system. Identifying these will help you choose the right method for attaching your new drain hose.
The Sink Tailpiece and Its Role
The tailpiece is the vertical pipe directly below your sink’s drain opening. It’s usually made of plastic or metal. Your drain hose will connect to this tailpiece. Sometimes, it’s a simple pipe, and other times it has extra ports for things like dishwasher drains. We found that understanding its shape and any existing connections is the first important step.
Types of Drain Pipe Connections
There are a few common ways drain pipes are joined. The most frequent types you’ll encounter are slip-joint fittings and compression fittings. Knowing which one you have will guide your hose attachment process.
- Slip-Joint Fittings: These are very common and easy to work with. They use a nut and a washer to create a seal. You simply slide a nut onto the pipe, then a washer, and then connect it to the next piece. Tightening the nut compresses the washer to make a watertight connection. We found these are often used where pipes need to be easily taken apart for cleaning or repairs.
- Compression Fittings: These are a bit more permanent and create a very strong seal. They involve a ferrule (a metal ring) that gets compressed onto the pipe when a nut is tightened. While secure, they aren’t as easy to disassemble as slip-joints. For drain hoses, you’re more likely to see slip-joints or specialized hose clamps.
Gathering Your Tools and Materials
Having the right supplies ready makes the job go much smoother. You don’t need a whole workshop, just a few basic items. We’ve put together a list of what you’ll likely need to get the job done efficiently and correctly.
Essential Tools
Most of these tools are probably already in your toolbox or can be easily borrowed. Having them on hand means you won’t have to stop halfway through to run to the store.
- Adjustable Wrench or Pliers: You’ll use this to tighten and loosen nuts. An adjustable wrench is great because it fits various sizes.
- Screwdriver: A Phillips head or flathead screwdriver might be needed for certain clamps or fittings.
- Bucket: Always have a bucket ready to catch any residual water. Even with a good seal, a little water might escape during the process.
- Rags or Towels: For cleaning up spills and drying parts.
Necessary Materials
The drain hose itself is the main material, but there are a few other bits that help ensure a good connection.
- Drain Hose: Make sure it’s the correct type and length for your needs. Check if it’s designed for hot water if that’s a concern for your sink.
- Hose Clamp(s): These are essential for securing flexible hoses to a pipe fitting. We found that stainless steel clamps offer good durability and rust resistance.
- Plumber’s Tape (Optional): Sometimes called Teflon tape, this can help create a better seal on threaded connections, though it’s not always needed for drain hoses.
- New Washers (If Applicable): If you’re replacing a part of a slip-joint fitting, having new rubber washers on hand ensures a fresh, tight seal.
Preparing for the Connection
With your tools and materials ready, it’s time to prepare the area and the parts you’ll be connecting. Taking a few minutes here can prevent headaches later.
Clearing the Workspace
Start by clearing out everything from under your sink. This gives you plenty of room to move around and work without bumping into cleaning supplies or clutter. Place your bucket directly under the existing drain pipe where you’ll be working. This is your safety net for any drips.
Inspecting the Tailpiece and Hose
Look closely at the tailpiece. Is there a threaded end? Does it have a small nipple or spigot designed for a hose? If you’re attaching to a dishwasher, there might be a specific port. For the hose, check the end that will connect to the tailpiece. It should be clean and free of any obstructions.
We recommend cleaning the end of the tailpiece and the inside of the hose where they will connect. A little bit of dirt or debris can prevent a good seal. Just a quick wipe-down is usually all it takes. If you’re removing an old hose, ensure the tailpiece is completely clear of any old gunk or fitting remnants.
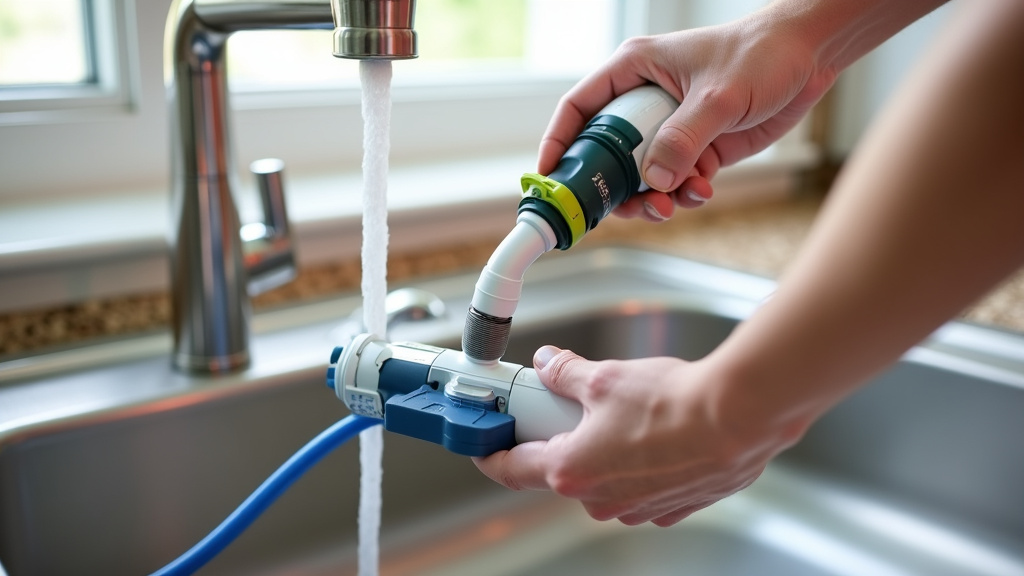
Attaching the Drain Hose
Now for the main event! This is where you’ll physically connect the hose. The exact method depends on your specific setup, but we’ll cover the most common scenarios.
Connecting to a Dishwasher Outlet or Nipple
Many kitchen sink tailpieces have a small, extended nipple specifically for attaching a dishwasher drain hose. This is usually a ribbed or smooth plastic or metal spigot.
To attach the hose:
- Slide a hose clamp onto the end of the drain hose that will connect to the tailpiece. Move it a few inches up the hose so it’s out of the way.
- Push the hose firmly onto the tailpiece nipple. Make sure it goes on as far as it can for a secure fit.
- Slide the hose clamp down the hose until it sits right where the hose meets the nipple.
- Tighten the hose clamp using your screwdriver or wrench. Make sure it’s snug, but don’t overtighten, as this could damage the hose. You want it firm enough to prevent the hose from slipping off. We found that a good, solid tightness is the goal.
Attaching to a Standard Tailpiece Using a Slip-Joint Adapter
If your tailpiece doesn’t have a dedicated hose nipple, you might need an adapter. Some plumbing supply stores sell special tailpiece adapters that have a threaded end for connecting to your existing tailpiece and a nipple for attaching a drain hose. These usually connect using a slip-joint fitting.
Here’s how you’d typically install one and attach the hose:
- Disassemble the slip-joint fitting on your current tailpiece. You might need your wrench to loosen the large nut.
- Remove the old tailpiece section.
- Install the new adapter tailpiece, making sure any washers are properly seated. Tighten the slip-joint nut snugly.
- Once the adapter is in place, attach your drain hose to the new nipple using a hose clamp, just as described above for a dishwasher outlet.
Using a Hose Clamp on a Smooth Pipe End
In some situations, you might need to attach a hose to a smooth pipe end. This requires a very reliable hose clamp.
- Ensure the pipe end is clean and free of burrs or sharp edges.
- Slide a suitable hose clamp onto the drain hose.
- Push the hose onto the pipe as far as it will go.
- Position the hose clamp over the area where the hose meets the pipe.
- Tighten the clamp securely. Double-check that the clamp is gripping the hose firmly. Some experts recommend using two clamps for extra security on smooth pipes, especially for larger hoses or those carrying significant water volume.
Testing for Leaks: The Crucial Final Step
You’ve done it! The hose is attached. But before you declare victory, it’s vital to test your work. A slow drip now can cause a big mess later.
The Water Test
Turn on your faucet and let the water run into the sink. Watch the connection point closely. Let the water run for a few minutes, and then shut it off.
Check the connection with your fingers or a dry paper towel. Do you feel any moisture? Is the paper towel wet? If you see or feel any dampness, your seal isn’t tight enough. You might need to tighten the hose clamp or adjust a fitting.
Running Your Appliance (If Applicable)
If this hose is for a dishwasher or washing machine, run a short cycle on the appliance. This will push more water through the hose than just running the faucet. While the appliance is running, and immediately after it finishes its drain cycle, check the connection again. We found that appliance cycles often put more pressure on the hose than simple sink draining, so this is a really important test.
What to Do If You Find a Leak
Don’t panic if you find a small leak. It’s a common issue and usually easy to fix. First, try tightening the hose clamp a little more. Sometimes that’s all it takes. If tightening doesn’t help, you might need to reposition the hose clamp or try a different clamp. Ensure the hose is fully seated on the nipple or pipe. If you used a slip-joint fitting, double-check that the washer is in place and not cracked.
If the leak persists, you might have a damaged hose or fitting, or you may need a different type of adapter. Consult your appliance manual or a local plumber if you’re unsure. Many common issues, like a slightly worn hose end, can be resolved by trimming the hose slightly and reattaching.
Quick Checklist for a Secure Connection
Here’s a handy list to make sure you’ve covered all your bases:
- Workspace cleared and bucket in place?
- Tools and materials gathered and ready?
- Tailpiece and hose ends clean and inspected?
- Hose clamped firmly and correctly positioned?
- Water test performed with observation?
- Appliance cycle tested (if applicable)?
Conclusion
You’ve successfully learned how to attach your sink drain hose. Remember, a secure connection prevents leaks and potential water damage. We found that taking your time and checking for a watertight seal afterward are the most important steps. By following these guidelines, you’ve confidently handled a common DIY plumbing task. Now, turn on that faucet and rest easy knowing your drain is working correctly.
Frequently Asked Questions
How tight should I make the hose clamp?
You want the hose clamp to be snug enough to prevent the hose from slipping off, but not so tight that you damage the hose itself. We recommend tightening it until it feels firm and the hose is secure.
What if my sink tailpiece doesn’t have a hose nipple?
If your tailpiece lacks a dedicated nipple, you’ll likely need a special adapter tailpiece. These often connect using a slip-joint fitting and provide a nipple where you can attach your drain hose with a clamp.
Can I use plumber’s tape on a drain hose connection?
Plumber’s tape is typically for threaded fittings. For most drain hose connections, especially those secured with hose clamps, it’s not necessary and may not create a better seal. Focus on a good clamp and a snug fit.
How often should I check my drain hose connection for leaks?
It’s a good practice to check the connection periodically, especially after running your dishwasher or washing machine. A quick visual inspection under the sink every few months can catch small issues before they become big problems.
My new drain hose has a slight kink, is that okay?
A severe kink can restrict water flow and put stress on the hose. If the kink is minor and doesn’t appear to affect drainage, it might be acceptable. However, we found that for best performance and longevity, try to position the hose with as few sharp bends as possible.


