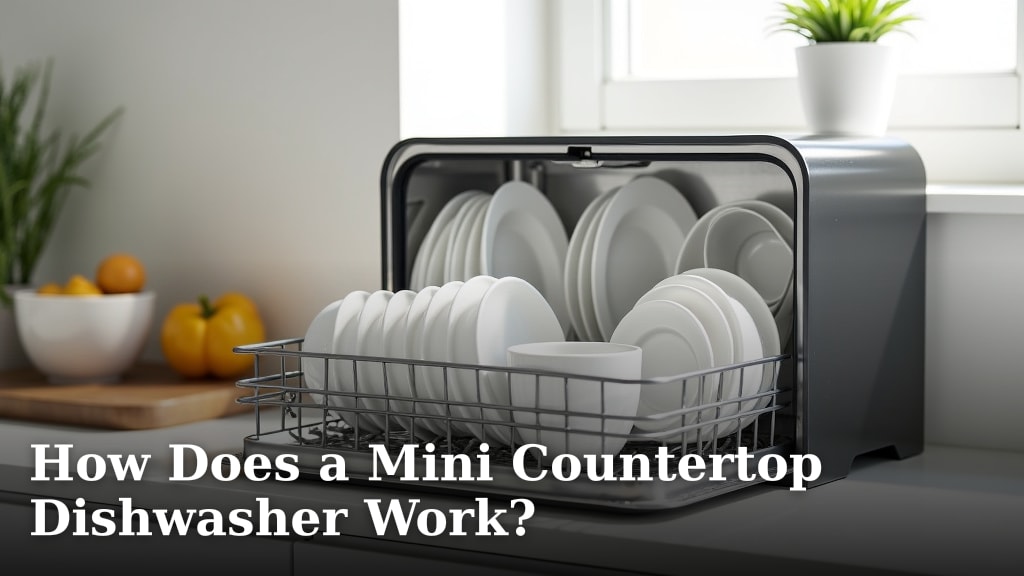
How Does a Mini Countertop Dishwasher Work?
A mini countertop dishwasher works by connecting directly to your kitchen faucet or using a built-in water tank. It uses high-pressure water jets and detergent to clean your dishes inside a compact chamber. You simply load your dishes, add detergent, and press a button.
These compact appliances are designed for small spaces like apartments, RVs, or dorm rooms. They occupy minimal counter space while still handling daily dish loads for one or two people. We found they use significantly less water than washing by hand.
- A mini dishwasher hooks up to your sink faucet or uses a fillable reservoir.
- It runs water through a pump, heating it and mixing it with detergent.
- Spinning spray arms blast your dishes from multiple angles.
- The dirty water drains away, and a drying cycle often follows.
- It provides a powerful clean without the footprint of a full-size machine.
Below, we break down the entire process step-by-step, from the initial connection to the final dry dish. You’ll see exactly how each part works together to make your life easier.
Understanding How Mini Countertop Dishwashers Operate
A mini countertop dishwasher operates on a simple but effective cycle of heating, spraying, and draining water. It’s a compact version of the machine you might have in a full-size kitchen, engineered to save space and water.
The Core Components Inside the Machine
Before we dive into the cycle, let’s look at the parts that make it happen. Think of your mini dishwasher as a tiny, self-contained cleaning system.
The main parts are the water pump, heating element, detergent dispenser, spray arms, and drain pump. You’ll also find a small reservoir if the model doesn’t hook to your faucet. The spray arms are often fixed to the bottom, and they spin to shoot water upwards.
We found that the most common issue is people not knowing how these parts work together. Understanding the basics helps you use and maintain it better.
The Water Pump and Heating Element
The water pump is the heart of the machine. It pulls water in, either from your faucet or the tank. Then, the heating element warms it up to the right temperature for cleaning.
Why does temperature matter? Warm water, around 140°F, helps dissolve food and grease more effectively than cold water. The EPA states that hot water can significantly improve cleaning efficiency for dishes.
Spray Arms and Detergent Dispenser
Once the water is hot, it mixes with detergent and gets forced through the spray arms. These arms have tiny nozzles that spin and spray your dishes from below and around.
The detergent dispenser usually opens at the right time in the cycle. It releases soap precisely when it’s needed. This is similar to how a full-size dishwasher works, just scaled down.
Step-by-Step: The Cleaning Cycle Explained
You press a button, and the machine does the rest. But what actually happens inside? Let’s walk through the cycle.
Most mini dishwashers follow a basic sequence: fill, wash, rinse, drain, and dry. The entire process typically takes 60 to 90 minutes. Your part is simple: load the dishes and add soap.
1. Filling with Water
The cycle begins with water entering the machine. There are two main ways this happens, and it depends on your setup.
For faucet-connected models, a hose screws onto your kitchen sink faucet. You turn on the faucet, and the dishwasher fills its internal basin. Many experts note this is the more reliable method for consistent water pressure.
For models with a built-in tank, you manually fill a reservoir with water before starting. You might need to do this once or twice for a full cycle. It’s like filling a coffee maker with water before brewing.
2. The Wash Cycle: Where the Magic Happens
Once water is inside, the real work starts. The pump pushes the water through the heating element.
The heated water, now mixed with detergent, is blasted through the spray arms. The arms spin or move, creating a 360-degree spray pattern. This ensures water reaches every surface of your plates, cups, and utensils.
We found that the pressure from the jets is what loosens food. It’s a combination of heat, soap, and pressure. Think of it like a mini car wash for your dishes.
The wash cycle usually lasts 20-30 minutes. During this time, the machine repeatedly sprays and drains dirty water. Some models have sensors to adjust the cycle based on how dirty the water is.
3. Rinsing and Draining
After the main wash, the machine rinses your dishes. Fresh, clean water is sprayed to remove all soap residue.
The drain pump then kicks in. It pushes the dirty, soapy water out of the machine. For faucet-connected models, the water goes down your sink drain. For tank models, it often drains into a separate container you empty.
This rinse step is crucial. No one wants soapy dishes. The rinsing process ensures your items come out clean and ready to use.
4. Drying the Dishes
Finally, the machine dries your dishes. This can happen in a few ways. Some models use residual heat from the hot water to evaporate moisture. The door may pop open at the end to let steam escape.
Other models have a fan or heating element for active drying. This can take 10-30 minutes. The drying cycle prevents water spots and makes your dishes ready to put away.
Always check if your model has a drying feature. Some basic ones skip this step and just drain, leaving you to air dry.
Connecting Your Mini Dishwasher to Water
The connection is key to its operation. Without a proper water source, the machine can’t run. Let’s compare the two main methods.
| Connection Method | Pros | Cons |
|---|---|---|
| Faucet Connection | Hands-free filling. Consistent water pressure. No manual refilling needed. | Requires a compatible faucet adapter. The hose can be in the way. |
| Built-in Water Tank | Portable. No hoses. Use anywhere with a power outlet. | You must fill and empty the tank manually. Water pressure might be lower. |
For faucet connections, most models come with a universal adapter. It screws onto your kitchen faucet’s aerator. You turn the adapter on to fill the machine, then turn it off when done.
We found that tank models are more popular for RVs and dorms. They offer true portability. However, you need to plan for water supply, especially for larger loads.
Drainage Options You Should Know
Water has to go somewhere after the cycle. Faucet-connected models typically drain through the sink. They use the same hose to both fill and drain, which is clever.
Tank models often have a drain hose that you place in a bucket or sink. Some might drain into the same tank, but that’s less common. Always ensure the drain hose is positioned correctly to avoid spills.
Common Settings and Cycles
Just like a full-size dishwasher, mini versions have different settings. These adapt the cycle to your needs. You might see options like Normal, Heavy, or Quick wash.
The Normal cycle is for everyday dishes with light food residue. It uses less water and energy. The Heavy cycle is for tough, baked-on food. It uses more water and hotter temperatures.
The Quick or Express cycle washes for a shorter time, usually 20-30 minutes. It’s great for lightly soiled dishes or when you’re in a hurry.
Energy and Water Efficiency
Mini dishwashers are surprisingly efficient. According to the U.S. Department of Energy, a compact dishwasher uses about 3-5 gallons per cycle. Washing dishes by hand can use up to 27 gallons.
This makes them a smart choice for saving water. They also use less electricity than a full-size model. The heating element and pump draw power, but it’s a fraction of what a standard machine uses.
Many models are ENERGY STAR certified, meaning they meet strict efficiency guidelines. This can help lower your utility bills over time.
Performance Factors and Real-World Use
You might wonder: Do they actually clean well? The answer is yes, with some caveats. The performance depends on loading, water hardness, and detergent type.
Proper loading is crucial. Don’t overcrowd the machine. Leave space between items so water can reach all surfaces. We found that users who load correctly report the best results.
Water hardness can affect cleaning. Hard water leaves mineral deposits and reduces soap effectiveness. If you have hard water, a water softener or extra rinse might help.
The type of detergent matters too. Use dishwasher-specific tablets or powder. Regular dish soap creates too many suds and can damage the machine. Always follow the manufacturer’s guidelines.
Maintenance to Keep It Running Smoothly
Like any appliance, it needs some care. Regular maintenance keeps it working efficiently and prevents odors or clogs.
Clean the filter and spray arms monthly. Food particles can build up and block the water flow. Wipe the door seal to prevent mold growth.
Use a dishwasher cleaner or vinegar cycle every few months. This removes limescale and keeps the interior fresh. We found that this simple step extends the machine’s life.
Final Checklist for Getting Started
Ready to use your mini dishwasher? Here’s a quick checklist to ensure everything runs smoothly from day one.
- Check the connection: Ensure your faucet adapter is tight and leak-free before first use.
- Load dishes correctly: Place larger items on the bottom, smaller on top, and don’t block the spray arms.
- Use the right detergent: Stick to dishwasher tablets or powder to avoid suds and damage.
- Run a maintenance cycle: Clean the filter and wipe the seal monthly to prevent buildup.
- Follow the manual: Your model might have unique features; the manual is your best guide.
By following these steps, you’ll enjoy clean dishes without the hassle. The key is consistency and a bit of care.
Conclusion
You now have a clear picture of how a mini countertop dishwasher operates. The key steps—connecting to water, using high-pressure jets, and a simple drying process—make it a practical solution for small spaces. We found that understanding these basics helps you use the machine more effectively. For the best results, remember to load dishes properly and run a monthly maintenance cycle. Your next step is to set up your dishwasher, connect it securely, and run a test load to see the convenience firsthand.
Frequently Asked Questions
How long does a typical cleaning cycle take in a mini dishwasher?
A standard cycle usually runs between 60 and 90 minutes, depending on the selected setting. The Quick wash option can take as little as 20 to 30 minutes for lightly soiled dishes. We recommend checking your model’s manual for specific cycle times.
Do mini countertop dishwashers get hot enough to sanitize dishes?
Yes, most models heat water to around 140°F, which is hot enough to remove grease and bacteria. This temperature is similar to what a full-size dishwasher uses. However, for complete sanitization, you should ensure your cycle includes a hot wash and rinse phase.
Can I leave the mini dishwasher connected to the faucet all the time?
It’s generally safe to leave it connected, but we recommend turning off the water supply when not in use. This prevents any potential leaks and reduces water pressure on the hose. Always check the adapter periodically for signs of wear or drips.
What if my mini dishwasher isn’t draining properly?
First, check that the drain hose isn’t kinked or clogged. Ensure it’s positioned correctly to allow water to flow out freely. If the problem persists, clean the drain filter and the pump area, as food debris often causes blockages.
Are mini dishwashers noisy during operation?
They are typically quieter than hand-washing, with noise levels around 50-60 decibels, similar to a normal conversation. We found that noise can vary by model, so look for specifications if sound is a concern. Most users report the hum is not disruptive in a kitchen setting.